You want a dress that feels easy to make and looks stylish, right? With the Trapeze Dress Pattern, you can start a sewing project that suits beginners and lets you finish quickly. Check out how long it might take:
Source | Time Estimate |
|---|---|
Mona Trapeze Linen Dress and Pattern Tutorial | 3-4 hours |
Pink Trapeze Dress | Approximately 3 weeks |
TRAPEZE DRESS : LES FLEURS | A couple of hours for subsequent dresses after initial learning |
Did you know this dress first appeared in 1958 when Yves Saint Laurent created a new look? The shape became famous in the 1960s for its bold lines and simple style.
Key Takeaways
Gather essential drafting tools like rulers and curves to ensure accurate pattern pieces.
Take precise body measurements to achieve a perfect fit for your trapeze dress.
Experiment with different necklines and sleeves to customize your dress style.
Sew a test version (toile) before cutting your final fabric to avoid mistakes.
Choose lightweight fabrics like linen or cotton for a comfortable and stylish dress.
Materials and Tools
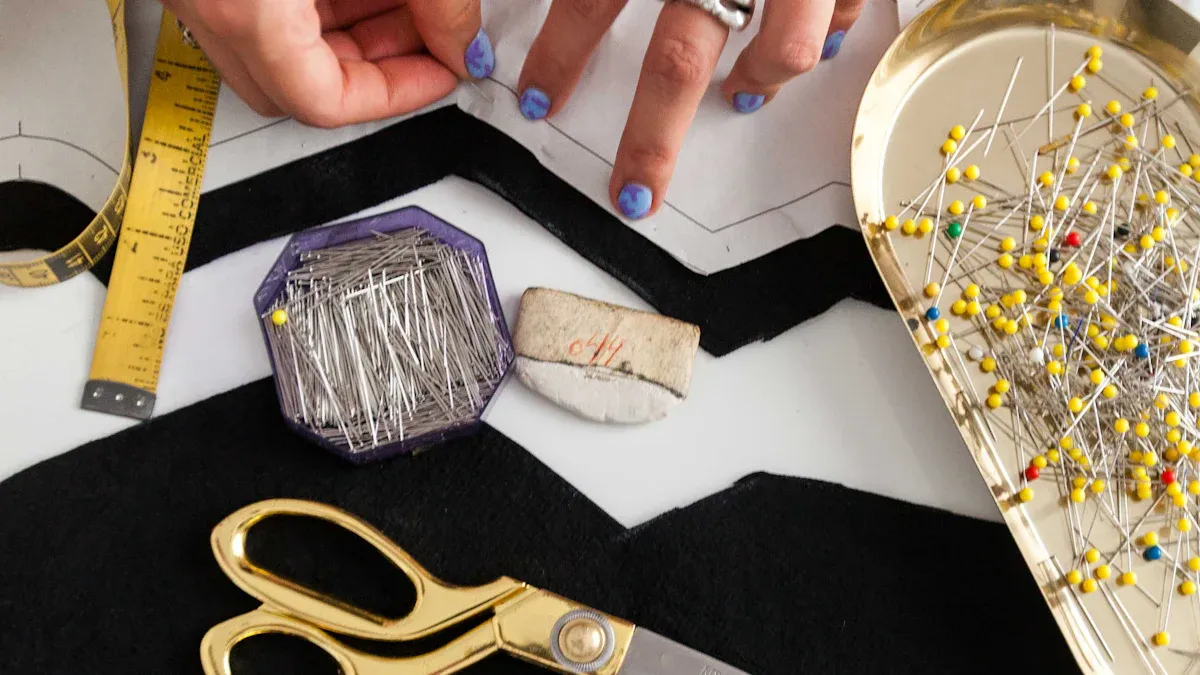
Before you start your Trapeze Dress Pattern, you need to gather the right materials and tools. Picking the best supplies makes your project smoother and helps you get a professional finish. Let’s break down what you’ll need.
Drafting supplies
You want your pattern pieces to be accurate, so drafting supplies matter. Here’s what you should have on hand:
Curve: Draw and measure curves for necklines and armholes.
L-square: Create straight edges and sharp angles.
Long Vary Form French Curve: Shape lapels and necklines.
Hip Curve: Draft hip curves and trousers.
Tracing Wheel: Transfer markings from pattern to fabric.
Center Finding Ruler: Find the center between two points quickly.
Tip: Using a Sure-Fit Designs Designing Stylus can help you draft anatomical curves with ease.
Measuring tools
Precise measurements make your dress fit well. You’ll need:
French Curve: Shape armholes, necklines, and collars.
Dritz Design Ruler: Combines hip curve and clear ruler functions.
Clear Plastic Ruler: Measure seam allowances and draw dart legs.
Awl: Mark darts and score paper.
Notcher: Make precise pattern markings.
Tracing Wheel: Transfer markings onto paper.
Curved rulers, straight rulers, and tailor’s squares also help you draw lines and shapes.
Optional extras
Some extras can make your sewing experience better. Check out this table for ideas:
Tool Category | Description |
|---|---|
Fabric | Essential for creating the dress pattern |
Sewing Tools | Scissors, pins, and measuring tools |
Embroidery | Adds decorative elements to your dress |
Washi Tape | Marks fabric without leaving permanent marks |
Storage | Keeps your sewing materials organized |
When you choose your fabric, think about comfort and style. Linen works well for a loose-fitting silhouette and drapes beautifully. You can also use shirting cottons, quilting cottons, flannel, light wool, rayon, or light corduroy. Heavyweight linen gives your dress structure and a flattering look, while lighter fabrics feel breezy for summer. Color and texture let you show off your personality.
If you’re budgeting, expect to spend about $20 for basic materials like 1.25 yards of 60″ wide fabric and matching thread. You’ll also need an iron and pins.
Take Measurements
Before you start drafting your Trapeze Dress Pattern, you need to know what measurements to take. Getting these numbers right helps your dress fit well and look great. Let’s look at what you need to measure and some tips to help you get it right.
Essential body measurements
You want your dress to fit your body, so you need to measure a few key spots. Here’s what you should measure for a Trapeze Dress Pattern:
Bust: Measure around the fullest part of your chest. Keep the tape snug but not tight.
Waist: Find the smallest part of your waist and wrap the tape around it.
Hips: Measure the widest part of your hips, usually about 7-9 inches below your waist.
Shoulder width: Measure from the tip of one shoulder to the other, straight across your back.
Dress length: Decide how long you want your dress. Measure from the top of your shoulder down to where you want the hem to fall.
Tip: Write down each measurement as you go. Double-check your numbers before you start drafting.
Measuring tips
Taking measurements can feel tricky, but you can avoid common mistakes with a few simple steps. Here’s what to watch out for:
Incorrect bust point placement can lead to misaligned darts.
Failing to adjust for rounded backs can result in fitting issues.
Not accounting for shoulder width variations can cause sagging or tightness in the bodice.
If you get your measurements wrong, you might notice:
Poor fit of the garment
Discomfort for the wearer
Aesthetic issues in the final garment
Imbalance in the garment’s structure
Wrong proportions that do not reflect your body
Incorrect alterations leading to dresses that do not fit properly
Always use a soft measuring tape and ask a friend for help if you can. Stand straight and relaxed. Don’t pull the tape too tight or let it sag. These small steps make a big difference when you draft your Trapeze Dress Pattern.
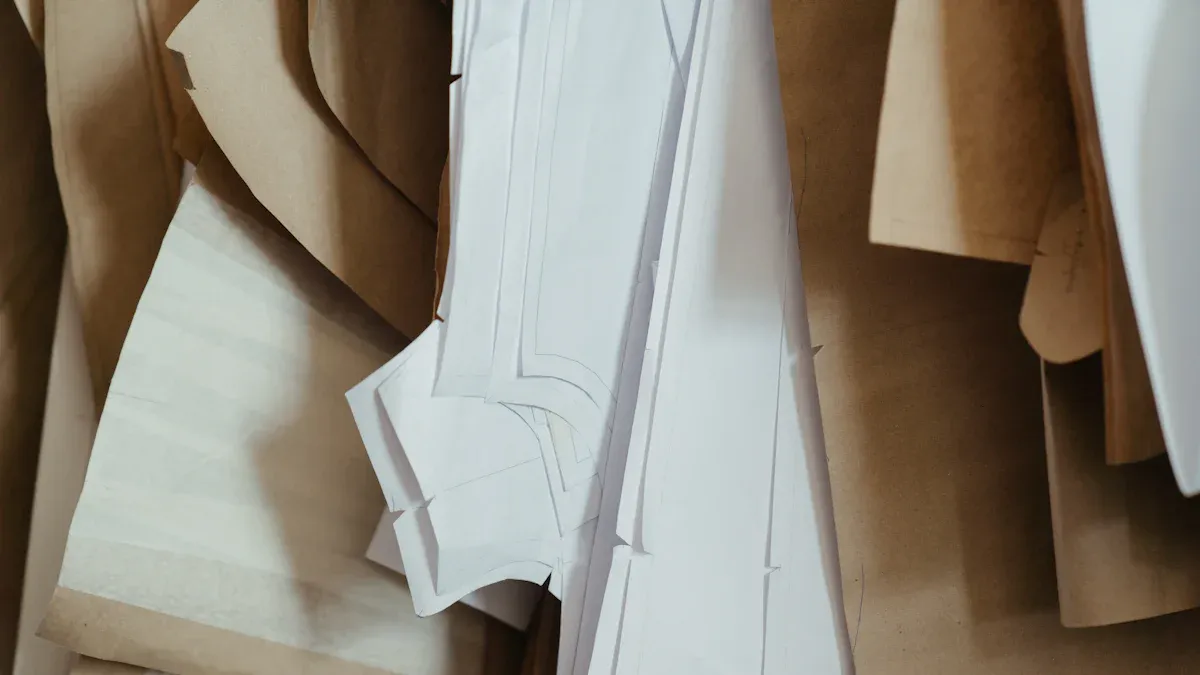
Draft Trapeze Dress Pattern
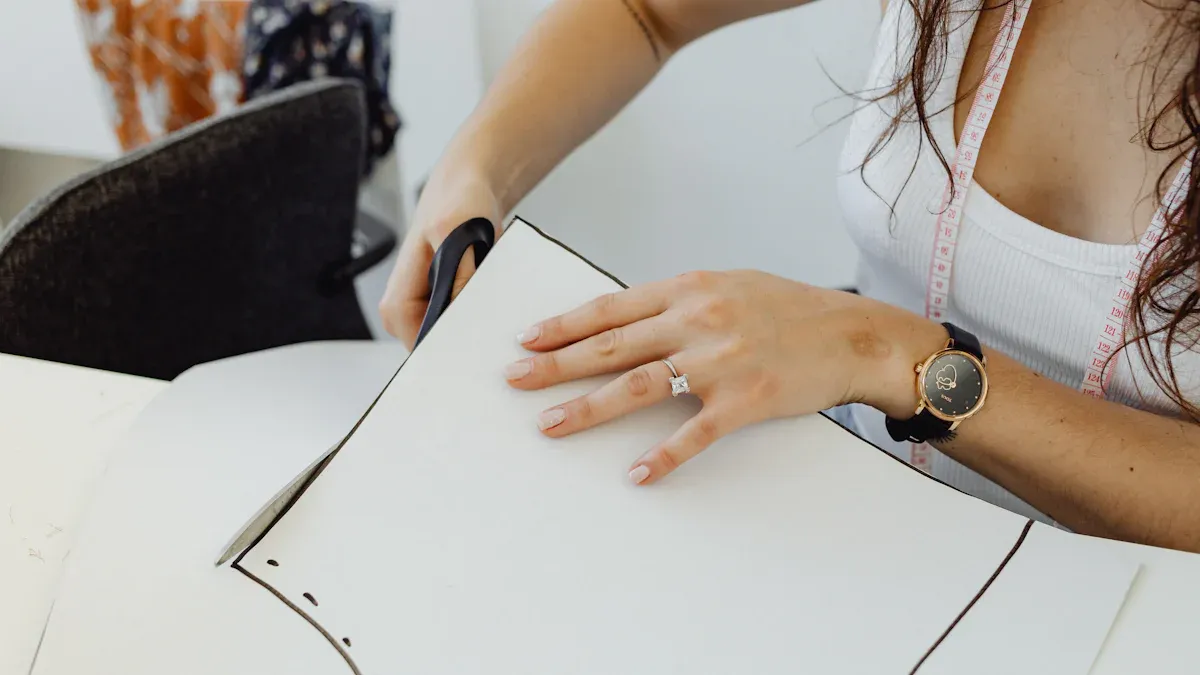
Creating your Trapeze Dress Pattern starts with a few simple steps. You will use your measurements and some basic tools to make a pattern that fits your body and style. Let’s break down what you need to do.
Bodice block
You begin with a basic bodice block. This block is the foundation for your Trapeze Dress Pattern. Here’s what you do:
Take your bust, waist, and shoulder measurements. Write them down so you don’t forget.
Gather a large sheet of paper, a pencil, a ruler, and a French curve.
Draw two lines that cross each other. One line marks the center front, and the other marks the waistline.
Use your measurements to sketch the front bodice piece. Mark the shoulder to waist and bust to waist lengths.
Repeat these steps for the back bodice piece. Make sure you use the same measurements so your pattern matches up.
Tip: If you want more room in the dress, you can rotate the darts and spread them out. This adds fullness and gives the dress its classic shape.
Add fullness
You want your Trapeze Dress Pattern to have that flowy, wide look. Adding fullness is what makes the dress swing and move. Here’s what you do:
Measure your bust and multiply that number by 1.5. Divide the result by 4. This gives you the width for each quarter of your pattern.
Draw your pattern using these new markings. You will see the shape start to flare out.
Sew the two main pieces together along the side seams. Use a 1/2-inch seam allowance.
Fold the top edge under by 1/2 inch, press it, then fold it again by 1 inch. This creates a casing for elastic.
Cut a piece of elastic that matches your bust measurement. Thread it through the casing and adjust it so the gathers look even.
Note: Cutting your fabric on the bias can make your dress drape better. When you lay your pattern pieces diagonally, the fabric stretches more and hangs softly over your body.
Here’s a quick look at what bias cutting does:
Technique | Effect on Dress |
|---|---|
Cut on the bias | Adds stretch and soft drape |
Straight grain | Keeps shape, less movement |
Cutting on the bias means you place your pattern pieces at a 45-degree angle to the fabric’s threads.
The diagonal direction gives your dress more stretch.
Your Trapeze Dress Pattern will feel softer and move with you.
Adjust length
You can make your Trapeze Dress Pattern as short or long as you want. Adjusting the length is easy if you follow these steps:
Find the lengthen/shorten lines on your pattern pieces. These lines show you where to add or remove length.
Figure out how much you want to change. For every inch taller than the drafted height, add 1/2 inch to the pattern.
Split the total adjustment between the bodice and the skirt if you need to.
Mark the new hemline and redraw the side seams so they stay smooth.
Tip: Always sew a toile before you cut your final fabric. A toile is a test version made from cheap material. It helps you check the fit and style. Most sewists use this step to avoid mistakes. Take notes and photos while you fit your toile. You will remember what changes you made and get a better final result.
Now you know what steps to follow to draft your Trapeze Dress Pattern. You can adjust the bodice, add fullness, and change the length to suit your style. Sewing a toile helps you get the fit just right before you finish your dress.
Customize and Finish
Neckline and sleeves
You can change the look of your Trapeze Dress Pattern by picking different necklines and sleeves. Many people like to try new styles. Here is a table that shows popular choices:
Neckline Type | Sleeve Type |
|---|---|
Round | Long sleeves |
V-shaped | Short sleeves |
Boat-shaped | Sleeveless |
Spanish | Strapless |
Diamond |
Each neckline and sleeve style gives your dress a new feel. If you want a casual and summery vibe, you might choose a halter neck or sleeveless design. A high neck or long sleeves can make your dress look more formal. You can also pick 3/4 sleeves or long sleeves to wear your dress in different seasons.
Tip: Try mixing and matching necklines and sleeves. You can create a dress that fits your style and the weather.
Seam allowances
Adding seam allowances to your pattern is important. Seam allowances give you space to sew the pieces together. Most home sewing patterns use a standard width. Here is a quick look:
Source | Seam Allowance |
|---|---|
STL Art Supply | 1.5 cm |
Oak Fabrics | 1.5 cm |
Marcy Tilton | 1.5 cm |
You need to mark notches and prepare your pattern before you cut the fabric. Here are some ways to mark notches:
Snip into the seam allowance.
Sew a tailor’s mark.
Draw the notch on with chalk.
Snip a marker on the outer edge of the seam allowance.
When you get ready to cut, lay out your pieces along the grain. Secure your pattern with weights or pins. Trace around your pieces with a fabric marking tool. Mark all notches and darts with pins or chalk.
Troubleshooting
You might run into problems when you sew your dress. Here are some common issues and what you can do:
Fit issues can happen. Try on your dress as you sew. You can change the neckline or adjust the fit for comfort.
Facing attachment problems confuse many people. You can look for tutorials or other guides to help you attach the facing.
Fabric transparency can surprise you. Pick a fabric that is not see-through. This helps your dress look good and feel comfortable.
Note: If your dress flares unevenly or feels tight, check your measurements and pattern adjustments. Small changes can fix most problems.
You can make your own Trapeze Dress Pattern by following these steps:
Gather your drafting tools and set up your workspace.
Watch a video tutorial for extra help.
Use written instructions to guide you through each part.
Try different fabrics and design options. You can make a dress for summer or winter, and add details like buttons for a unique look.
Free patterns, like the Nancy Dress from Sew Over It, make it easy to start. Sewing a toile helps you get the fit just right.
FAQ
What is a Trapeze Dress Pattern?
A Trapeze Dress Pattern gives you a loose, A-line shape that flares out from the shoulders. You get a comfortable fit and a stylish look. This pattern works well for beginners.
What fabric works best for a trapeze dress?
You want lightweight fabrics like linen, cotton, or rayon. These materials help your dress drape nicely and feel comfortable. Heavy fabrics can make the dress stiff.
Tip: Try linen for a breezy summer dress. Cotton works for everyday wear.
What tools do you need to draft the pattern?
You need a ruler, French curve, measuring tape, pencil, and large paper. These tools help you draw accurate lines and curves. You can add extras like a tracing wheel or notcher for better results.
What should you do if your dress feels too tight?
Check your measurements. You may need to add more fullness or adjust the side seams. Sewing a test dress (toile) helps you spot fit problems early.
What design changes can you make to customize your dress?
You can change the neckline, add sleeves, or adjust the length. Try mixing styles for a unique look. Add pockets or decorative buttons for extra flair.
Design Option | Effect |
|---|---|
Sleeves | Warmer dress |
Pockets | More practical |
Buttons | Stylish detail |