Long-lasting lip color is achievable with the right routine. Prep by gently exfoliating to remove flaky skin and apply a thin, hydrating balm. Blot excess product, then create a smooth base using primer or a touch of concealer. Build color in thin layers, set lightly with translucent powder, and adopt sip-and-touch-up habits that keep shade vivid throughout the day.
Prep Your Lips for Long-Lasting Lipstick
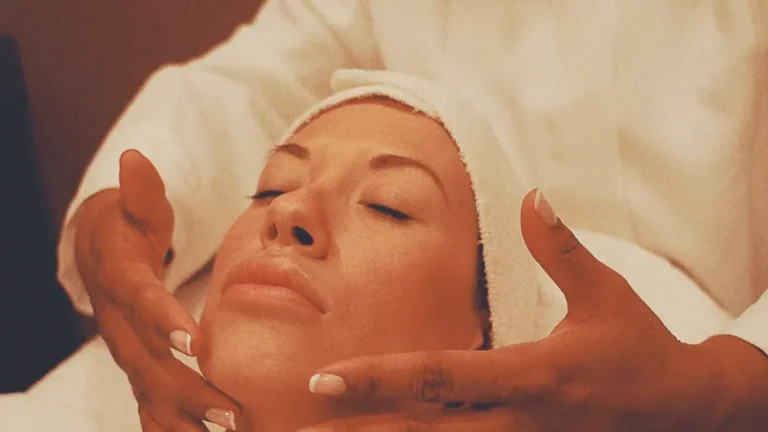
Before you reach for your lipstick, give your lips a little prep so the color has a smooth place to stick.
Start your lip care routine by gently wiping away any roughness with a damp washcloth, then sweep on a light balm or hydrating oil.
Let it sink in for a few minutes so the surface feels soft, not slippery.
Should your lips still feel tight, add a thin layer of primer or a tiny touch of foundation for a more even base.
At night, keep up overnight lip hydration with a nourishing balm, because healthy lips hold color better and feel more comfortable.
This simple prep helps you look polished and feel like you belong in every room, even before the initial swipe of lipstick.
Exfoliate Away Dry, Flaky Skin
Now that your lips have a soft base, it’s time to clear away the dry, flaky bits that can make lipstick look uneven. With gentle lip exfoliation, you help your color glide on smoothly and stay with your crowd all day. Use a soft toothbrush or damp cloth, then work in small circles. Keep it light, because your lips don’t need a scrub battle.
| Step | Why it helps |
|---|---|
| Soften lips | Eases flaky skin removal |
| Buff lightly | Lifts dead skin |
| Focus edges | Smooths rough spots |
| Wipe clean | Clears loose bits |
| Pause often | Protects tender skin |
After that, your lipstick has a nicer surface to cling to, and you’ll feel more confident whenever you smile, chat, or snap a photo.
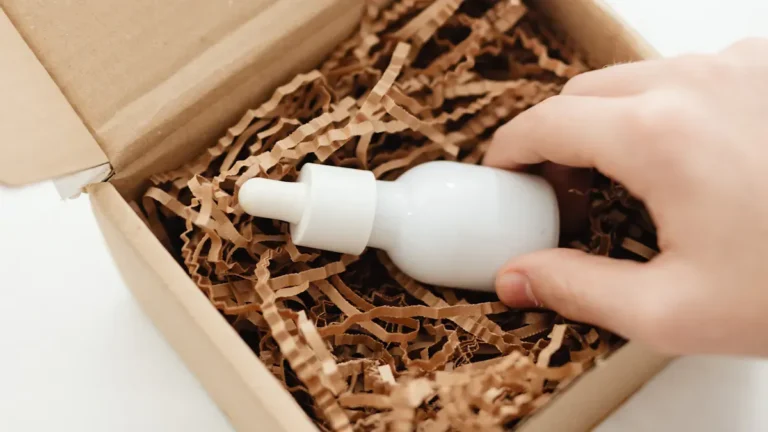
Hydrate With a Lightweight Lip Balm
A lightweight lip balm gives your lips the moisture they need without leaving a heavy, slippery coat, and that balance matters whenever you want lipstick to stay put. You can smooth on a thin layer after cleansing, and your lips will feel ready instead of slick.
Choose a balm with gentle oils or butter, because it supports nourishing lip softness while still letting color grip well. Whenever you apply it at night, you also enhance nighttime lip hydration, so you wake up with a calmer, smoother surface.
In the morning, let the balm sink in before you add makeup. Then your lips feel cared for, and your lipstick starts on a comfortable base that fits right in.
Blot Before You Apply Lipstick
Even the best lip balm can leave a little extra shine, and that slick layer can make lipstick slide around faster than you’d like. So grab a tissue and do quick tissue prep before you color.
Press it gently over your lips to lift the extra moisture without stripping comfort.
That small step helps with oil control, so your lipstick grips better and stays neater through the day. You don’t need to rub hard. Just pat once, then check the edges and center for any glossy spots.
Should your lips still feel slick, use a fresh corner of the tissue and blot again.
This simple habit gives you a cleaner base, helps your shade look sharper, and makes you feel ready to join the day with confidence.
Prime Lips With Concealer or Primer
A thin layer of concealer or lip primer gives your lips an even base, so your lipstick grips better and fades less.
You can use concealer to tone down your natural lip color, or reach for primer whenever you want extra hold and smoother wear.
Either way, you’ll get a softer surface that helps color go on more evenly and stay put longer.
Concealer as Base
At the time you want your lipstick to stay put, starting with concealer or primer can make a big difference, because it gives your lips a smoother, more even base. You can tap on a thin layer of concealer coverage initially, then blend it well for base smoothing. This helps cancel out your natural lip color, so your lipstick looks truer and lasts longer.
Use a small brush or fingertip, and keep the layer light so it doesn’t feel heavy or crack later. Should you’ve ever watched color slip off before lunch, you’re not alone, and this step can help you feel more ready.
Afterward, let it set for a moment, then add your lipstick. That little pause helps everything grip better and keeps your look polished.
Lip Primer Benefits
Under your lipstick, a thin layer of lip primer or concealer can change everything. You get a smoother canvas, so color grips better and looks more even. It also helps build a gentle hydration barrier, which keeps your lips from feeling thirsty halfway through the day. That matters as soon as you want your look to stay with the group, not fade out prematurely.
- It softens rough spots with texture smoothing.
- It helps lipstick cling instead of slip.
- It can calm tiny lines that steal color.
- It gives your lips a neat, ready-for-anything finish.
Once you use primer, you’re not just adding a base. You’re giving your lips a little backstage pass, so they feel included, polished, and ready for the spotlight.
Smooth Application Tips
For a smoother lip look, start with tapping a thin layer of concealer or primer onto clean lips, because this simple step helps your lipstick glide on without catching on dry spots. You’ll notice your lip texture feels calmer, and that gives you a base that looks like it belongs on you. Use a fingertip or small brush, then pat, don’t rub, so the product stays even.
After that, press in a touch more around the edges where color often slips first. This helps you build an even finish before lipstick goes on. Should your lips feel extra dry, let balm sink in first, then add primer. With this prep, you’re setting yourself up for smoother color, less patchiness, and a polished look that still feels comfortable.
Choose a Long-Wear Lipstick Formula
A long-wear lipstick formula can make a huge difference, especially on days whenever you want your color to stay put without constant fixing. You’re not just buying shade, you’re picking support for your whole look, so choose smart long wear formula types that match your routine. Matte liquid styles give strong hold, while creamy stains feel softer and still last. If you want a polished finish, try transfer proof lipstick finishes that keep your color on your lips, not your cup.
- Pick a matte formula for bold wear.
- Try a lip stain for lighter comfort.
- Choose a mousse if you want a soft feel.
- Check for transfer-resistant claims before you buy.
That way, you’ll feel ready and included in every room.
Line Lips for Better Staying Power
You can make your lipstick last longer whenever you start with a matching lip liner, because it gives your color a neat, steady base.
Trace your lip edges with care so you define the shape and help stop feathering, which can sneak in like an uninvited guest.
Then fill in your lips with the liner before you apply color, so your lipstick grips better and stays put through more of the day.
Choose Matching Lip Liner
Whenever you choose a lip liner that matches your lipstick, you give your color a stronger base and help it stay put much longer. With smart color matching, you blend in with ease instead of fighting a harsh line. Check the shade undertones initially, because warm, cool, and neutral tones can shift how the liner looks on your lips.
- Compare liner and lipstick in daylight.
- Try both shades on your hand.
- Pick a creamy formula that glides on.
- Keep one backup shade for quick swaps.
This simple step helps you feel part of the polished crowd without looking overdone. Whenever your liner and lipstick work together, your lips look smooth, steady, and ready for the day, and that confidence shows.
Define The Lip Edges
Sharp lip edges do more than look neat, since they give your lipstick a firm frame that helps it last longer and stay in place. You can define them with a matching liner, tracing the natural border so your color looks clean and confident.
Keep the lines smooth, then check lip edge symmetry in a mirror, because tiny uneven spots can make the finish slip. At the top, focus on cupid’s bow shaping so the peak feels crisp and balanced. Should you want a softer look, gently blur the very edge without losing the outline.
This small step helps you feel polished in any crowd, and it keeps your look together through talking, laughing, and the rest of your day.
Fill Before Applying Color
Filling in your lips before you add color gives your lipstick a stronger base, and it can make the whole look last much longer. You’re building a smooth lip base that helps pigment stick evenly and keeps your shape looking neat.
Before you swipe on lipstick, try this:
- Outline with liner.
- Fill every corner.
- Press color in.
- Blend the edges.
This step enhances color payoff because the lipstick grips a full surface instead of bare skin. It also helps you feel put together, like your look belongs in every room you walk into.
Should your lips run dry, use a light balm first, then let it settle. That small pause can save your finish and keep the color looking fresh, not patchy, all day.
Apply Lip Color in Thin Layers
A thin layer of lip color can make a big difference because it helps the product stick better and look smoother. You’ll feel more confident as you build it slowly, because layering techniques give you control and keep the finish even. Start at the center, then sweep outward in a light pass.
Should you want stronger color intensity, let the initial coat settle, then add another thin coat instead of piling on one heavy swipe. That way, you avoid streaks, clumps, and that tired “oops, too much” look. Between layers, press your lips together softly so the shade blends with you, not against you. As you keep each coat thin, your color stays neat, polished, and ready for close-up moments.
Set Lipstick With a Light Dusting of Powder
Once your lipstick is in place, a light dusting of powder can help it stay put without feeling heavy. You’re not trying to cover your color; you’re giving it a soft powder finish that helps it last. Use a fluffy brush and press just enough to set the look.
- Tap off extra powder first.
- Close your lips gently.
- Sweep a thin veil over the color.
- Add one setting touch when needed.
This small step helps you feel polished and part of the long-wear crowd, without that dry, chalky look. Keep it light, and your lips can still feel comfortable, smooth, and ready for the day.
Minimize Eating and Drinking Smudges
Even when your lipstick looks perfect at the start, eating and drinking can wear it down fast, so it helps to plan ahead. You can protect your color through choosing sip friendly beverages, like water, iced coffee, or tea, instead of sticky drinks that grab at pigment.
When you need a straw, use straws strategically so liquid skips over your lips and leaves less transfer behind. Small bites also help, because wide bites can press color off in one swipe.
Whenever you’re with friends, take slower sips and wipe your mouth gently with a napkin rather than rubbing. That keeps your lip line cleaner and helps you stay confident through meals. Little habits like these let you enjoy the moment without feeling like your lipstick is slipping away.
Touch Up Lipstick the Smart Way
Whenever your lipstick starts to fade, blot it initially so you’re not trapping extra oil under the next layer.
Then add a thin coat instead of piling on product, because that keeps color smooth and less likely to crack.
Keep a lip liner close too, since a quick touch around the edges helps you refresh the shape without starting over.
Blot Before Reapplying
If your lipstick starts looking tired halfway through the day, don’t pile on more color right away. First, use a blotting technique to lift the shine and soft pigment already sitting on your lips. That clean step helps your reapplying lipstick look smooth instead of heavy, so you stay polished with everyone else.
- Press a tissue gently to your lips.
- Check for oily spots or thick edges.
- Reapply lipstick only where color has faded.
- Blend the edges with a light tap.
When you blot first, you reset the surface and keep your lip color from turning cakey. That small pause helps you look put together, whether you’re heading back to work, dinner, or a quick coffee run with your people.
Layer Thinly
To keep your lipstick looking fresh, touch it up with thin layers instead of adding a heavy swipe all at once. You’ll get even coverage without caking or dragging color around. Start at the center of your lips, then press the product outward with a light hand.
When the shade looks soft, let it settle for a moment and build gradually until it matches the rest of your look. This way, you keep the finish smooth and avoid that patchy, overdone feel no one wants at lunch or after a long chat.
Small touch-ups also help your lipstick stay comfortable, so you can smile, talk, and fit right in without worrying about messy edges. Keep each pass gentle, and your lips stay polished, confident, and ready for anything.
Carry A Lip Liner
A lip liner can save the day, especially after your lipstick starts fading at the edges and you still need your color to look neat. Keep one in your bag so you can fix the outline fast and feel polished with the group. It helps you blend in without starting over.
- Pick a shade close to your lipstick.
- Trace the faded edges with light strokes.
- Fill tiny gaps for a smoother finish.
- Store it well in your lip liner storage pouch and follow liner sharpener tips so the point stays ready.
When you touch up this way, you keep your look clean, fresh, and easy. You won’t need a mirror marathon, just a quick check and a steady hand.